Not many people are aware that Mastercam has a built-in Engraving toolpath. The toolpath can be found under the 2D group of toolpaths. The icon looks like the one in the picture below.

Once clicked on and selected, you are greeted with the chain dialogue below, from which you can select the “Window” selection method as follows:

Next, select the text as follows:

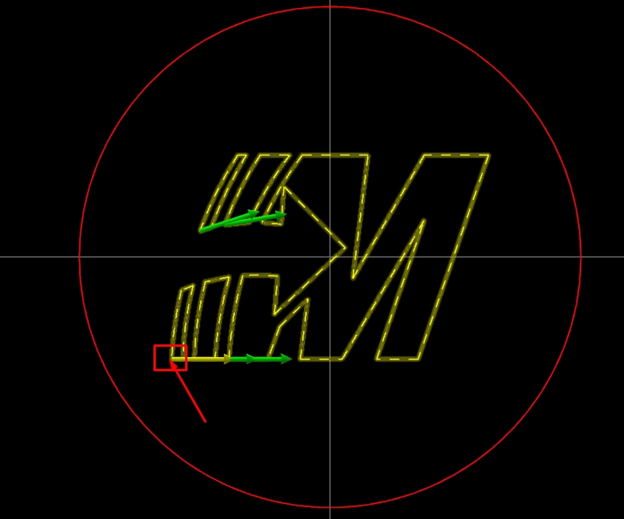
Next, select a starting point for Mastercam to calculate from as follows:
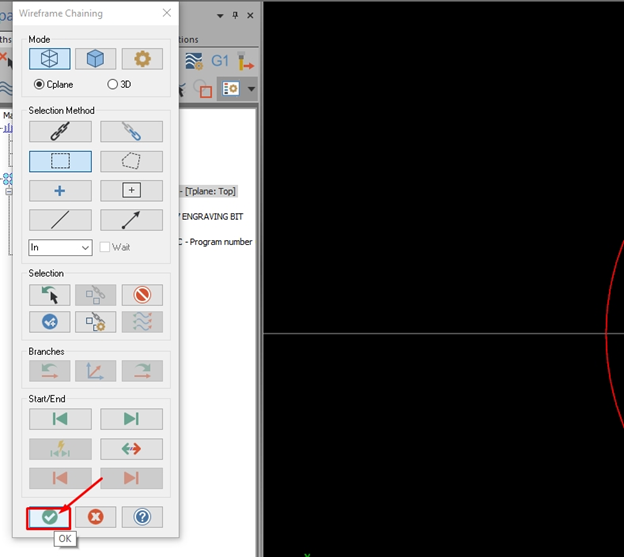
Green check out of the chaining dialogue as follows:
Next, you will need to select your V-Bit tool. I created a custom engraving tool inside of Mastercam with an included angle of 60 degrees. Once you have your tool selected, put in your desired depth under “Engraving Parameters”. I used a 4mm depth as indicated in the diagram below.

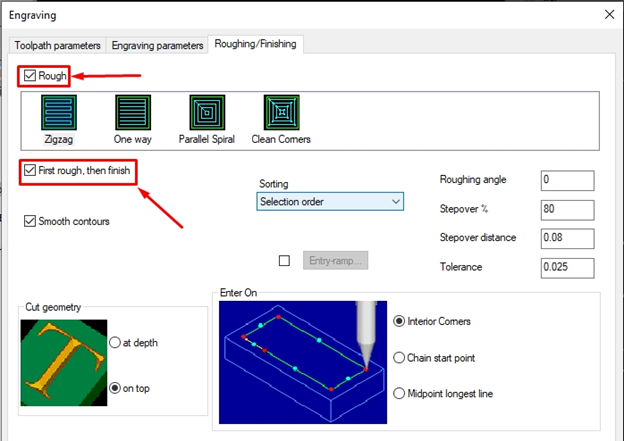
“XY Stock to leave” I made “0” and I enabled “Rough” and “First rough then Finish” under the “Roughing/Finishing” tab as below:
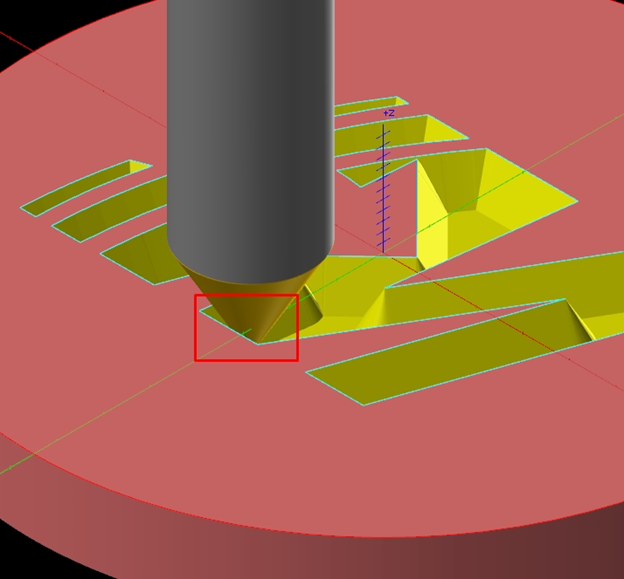
The result of the toolpath can be seen below:
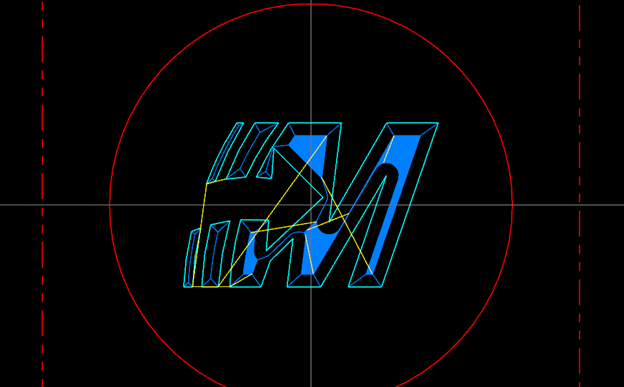
Notice how the tool diameter follows the contour of the chain as a boundary so that when it cuts into the corners Mastercam will raise the tool in “Z” to compensate for the sharp corners. This can be viewed closer in the two pictures below: